In a nutshell
- 🔬 The science: acetic acid (5–6%) penetrates charred polymers and chelates minerals, loosening carbonised layers fast; gentle heat accelerates diffusion.
- ⏱️ The method: a 10-minute soak with warm white vinegar (or 1:1 dilution), then a soft scrape; drain and add bicarbonate of soda to fizz off remnants, rinse and dry.
- 🍳 Materials matter: stainless and enamel tolerate short soaks; non-stick needs cooler, diluted vinegar; cast iron and bare aluminium require brief contact and extra care.
- ⚠️ Pitfalls to avoid: don’t neutralise early with baking soda, avoid over-soaking, never mix vinegar with bleach, and always rinse and dry immediately to prevent spotting or rust.
- 💷 Why it’s smart: a cheap, sustainable, low-effort rescue that often restores shine; if heavily burnt, do two short soaks rather than one long one for safer results.
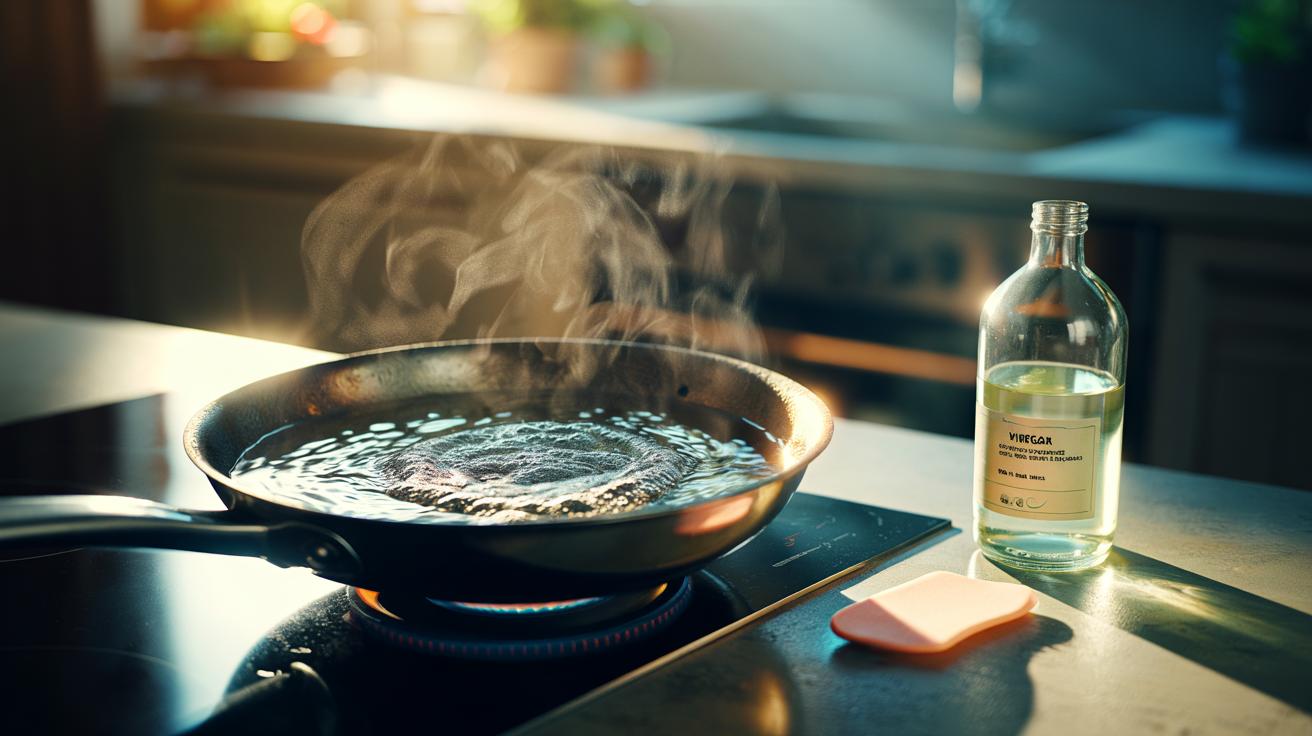
Burnt-on gunk can transform a prized pan into a kitchen pariah. Yet the remedy sits in most UK cupboards: plain white vinegar. In just ten minutes, the gentle bite of acetic acid loosens charred residues that stubborn scrubbing fails to shift. The trick isn’t elbow grease. It’s chemistry and patience. Warm the pan, soak briefly, let the acid do the work, then wipe away the softened layer. Short soaks are safer and more effective than marathon sessions that risk damaging finishes. Done right, this method restores shine, saves time, and spares you harsh chemicals. It’s cheap, sustainable, and surprisingly satisfying.
Why Vinegar Works in Ten Minutes
Vinegar’s cleaning clout comes from acetic acid, a weak organic acid (typically 5–6%). Despite its softness, it’s perfectly suited to tackle burnt layers. Charred food is a knotted mix of polymerised sugars, proteins from Maillard reactions, and mineral scale. Acetic acid slips into those microfissures, protonates residues, and helps break the bonds that glue the crust to metal. It also chelates mineral ions, especially calcium and magnesium, dismantling that chalky layer that cements everything in place. Heat speeds diffusion, which is why a warm pan amplifies the effect. A 10-minute soak is often enough to shift the grip without harming the base material.
On stainless steel, vinegar is an ideal match, softening burnt patches so they wipe away with light pressure. In enamel, the acid works gently without scratching the glaze, provided you avoid prolonged soaks. The chemistry is self-limiting: once the crust loosens and lifts, vinegar has little left to attack. That’s why restraint matters. Short, controlled contact gives you the best of both worlds: fast release of charred layers, minimal risk to the pan. No brute force. Just a tidy, targeted reaction that saves your wrists.
Step-by-Step: The 10-Minute Vinegar Soak
Start with a clean slate. Tip out loose crumbs and wipe away grease. Add enough white distilled vinegar to cover the burnt area by a few millimetres; for delicate finishes, use a 1:1 mix of vinegar and water. Warm the pan on the hob until just steaming, then take it off the heat. Set a timer for ten minutes and walk away. Resist the urge to stir in baking soda now—it neutralises the acid before it can work. Let chemistry loosen the crust first. When the timer ends, use a wooden or silicone scraper to coax off softened debris. It should slough away with little drama.
If stubborn specks remain, drain the vinegar, sprinkle a teaspoon of bicarbonate of soda onto the damp surface, and let it fizz. That gentle effervescence lifts residues the soak weakened. Rinse thoroughly with hot water and a dot of washing-up liquid, then dry immediately. For stainless steel, a final wipe with a microfibre cloth restores lustre. Avoid long vinegar contact on bare aluminium and seasoned cast iron. Work in a ventilated kitchen, never mix vinegar with bleach, and protect non-stick by keeping temperatures low and scrubbing tools soft.
Material Matters: What to Do for Different Pans
Not all cookware likes acid equally. Tailor the soak to the metal and finish to protect your investment. Stainless steel loves vinegar and recovers beautifully with minimal fuss. Enameled cast iron tolerates short soaks safely. Non-stick surfaces need cooler, diluted soaks and gentle tools. Cast iron and bare aluminium demand caution; the former can lose seasoning, the latter may pit or dull. Choose your dilution and timing wisely, and you’ll avoid costly mistakes. The guide below keeps things clear at a glance and helps you match the method to the material.
| Pan Material | Vinegar Strength | Max Soak Time | Notes |
|---|---|---|---|
| Stainless Steel | Neat 5–6% or 1:1 with water | 10–15 minutes | Safe and effective; polish after to remove water spots. |
| Enameled Cast Iron | 1:1 with water | Up to 10 minutes | Avoid chips; use non-scratch tools only. |
| Non-Stick (PTFE/Ceramic) | 1:3 with water | 5–10 minutes | Keep heat low; no metal pads. |
| Cast Iron (Seasoned) | Brief hot deglaze only | 2–3 minutes | Will strip seasoning; scrub, dry, and re-season. |
| Aluminium (Bare) | 1:4 with water or avoid | 2–5 minutes | Risk of pitting/discolouration; try soap first. |
| Copper or Tin-Lined | 1:1 with water | 5–10 minutes | Avoid acid on tin linings; stick to stainless-lined only. |
When in doubt, test a tiny area first. If colour shifts or the surface looks matte, stop immediately. Switch to a milder dilution, shorten the time, or rely on a simple hot-water soak with a drop of detergent followed by a bicarbonate paste. Your goal is consistency: gentle action, short contact, thorough rinse, fast dry. That’s how pans stay pristine.
Common Pitfalls and Pro Tips for Effortless Results
Many missteps come from enthusiasm. Over-soaking can etch aluminium, soften tin linings, or dull enamel. Pouring in bicarbonate during the soak cancels the acid’s power, creating fizz but little cleaning. Scratching at loosened residue with steel wool on non-stick is another classic error. And while malt vinegar works in a pinch, its colour and aroma linger; choose distilled white vinegar for a clean finish. Always rinse thoroughly and dry immediately to prevent spotting or rust. Those two minutes at the sink make the difference between “nearly clean” and good-as-new.
Pro tip: warm vinegar, not boiling, accelerates penetration without stressing coatings. If the pan is heavily carbonised, repeat two short soaks instead of one long one. A pinch of fine salt after the soak acts as a mild, controlled abrasive on stainless. For a showroom shine, finish with a stainless cleanser or a dilute bicarbonate paste, then buff. Store pans bone-dry. Slip a paper towel between stacked items to protect surfaces. Smart prevention—moderate heat, enough oil, quick deglazing after cooking—means you’ll rarely need rescue missions.
With a bottle of white vinegar and ten patient minutes, ruined-looking pans bounce back. The chemistry is simple, the method repeatable, and the payoff is immediate. This isn’t a hack; it’s a controlled reaction that trades brute force for finesse. Respect the material, time the soak, and let acetic acid do the heavy lifting. Your cookware will gleam, your hands will thank you, and your cleaning cupboard can stay minimal. Ready to try it tonight—and which pan are you going to rehabilitate first?
Did you like it?4.5/5 (23)